
In August, Natalie Surina, of Ériú Harps, based in Oughterard, in Connemara in the West of Ireland, brought two new instruments along to Kilkenny for exhibition and sale. They were simplified copies of the medieval Scottish Queen Mary harp, Continue reading Ériú Harps
Category: harpmaker

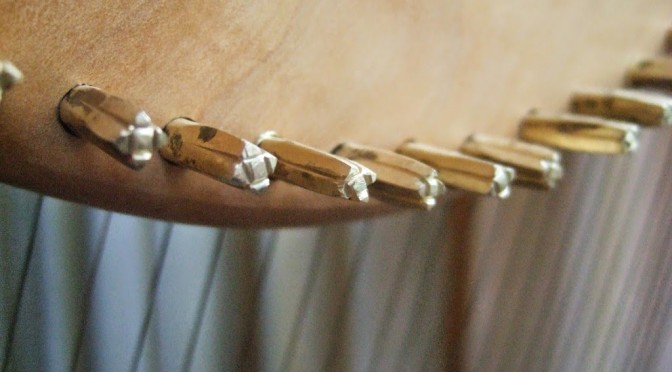
“Like medieval clockwork” – copying the missing Queen Mary harp iron tuning pins.
When I was commissioning my replica of the Queen Mary harp in 2006, I paid attention to the 30th tuning pin, which is obviously a later addition, shorter, made of iron, split end, different drive, and off the main row. This pin is now missing but I made a copy of it based on descriptions and old photos. I made the 29 brass pins with their scores on their shafts copying the museum photo of the 21 pins now in the harp, and for the 8 missing pins I made the same design of brass pins without scores.
If I had been more on the ball back then I would have noticed that those same old photos and descriptions I used for the 30th pins, also show the missing 8 from the main row, and those missing 8 are plain iron not decorated brass, and 5 of them have split ends.

So today’s project was to make 8 handmade iron pins, and install them in the harp. The contrast of the iron and brass pins is subtle but interesting in appearance, reminding me of my initial reaction to the handmade decorated pins: “like medieval clockwork”.
I broke the lowest gold B string taking it off but there was enough spare to rewind the toggle and reuse it. The string had thinned where it went over the pin – presumably a gradual process over seven years since I fitted it in 2007.
Pins
The past week or two have continued the making things theme. I have done a series of tuning keys as test-runs; I have made a page advertising them which I will send out for my 1st May Emporium Update.
I also have made the set of pins for my HHSI Student Downhill harp, and today while it was here with my student who has it, I fitted the pins – pulling each of the old steel pins out in turn and then replacing it with a new brass pin. I had to shim all of the brass pins because for some reason they are marginally smaller than the steel pins, and I used thin brass sheet to make the shims. Plenty of the antique Gaelic harps have brass shims in their pin holes and I find it works well.

We instantly noticed how much better the harp worked to tune, with the new pins – the key fits much more snugly on the new pins with their tapering drives, giving a much more positive touch to the tuning. And the new pins look rather good with their decorated drives. I am very pleased with the result.
I have always thought that handmade pins with tapering drives work so much better than machine made steel pins with parallel drives, but inertia has meant I have not bothered doing anything about it until now. Hardly anyone has handmade pins on their harps, even top players with quality decorated instruments. I can only think of 3 or 4 off the top of my head.
I am going to make a few more pins and then I think I will make a page advertising them for sale for the 1st June update! I think that this would make a fantastic upgrade to anyone’s harp, to replace the pins!
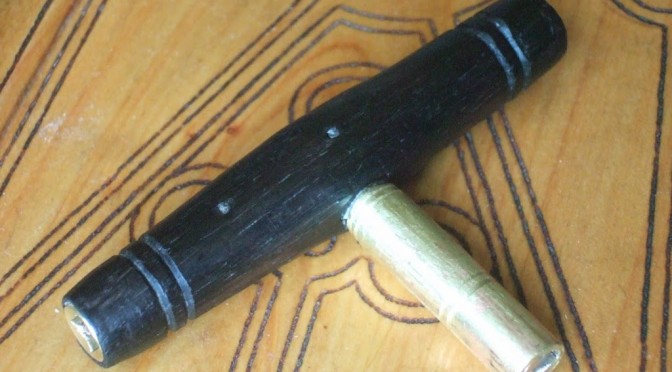
Tuning key
I lost my tuning key in Edinburgh last weekend. At first I was rather irritated; the replica Queen Mary clarsach has handmade tuning key drives, copying the original, which are rectangular rather than the usual square. So the key is also custom-made with a rectangular socket, and also has a second socket in the end of the handle to fit the square drive of the 30th pin. Basically it is useless to anyone else! I did have a rather ill-fitting spare with me
However after a while I realised this was a great opportunity. I made this key not too long after the harp was new, and while it was comfortable to use with its roundwood quince handle from the garden here, the rectangular socket was always a bit oversized and was loose on all the pins. Also it was rather “rustic” in appearance.
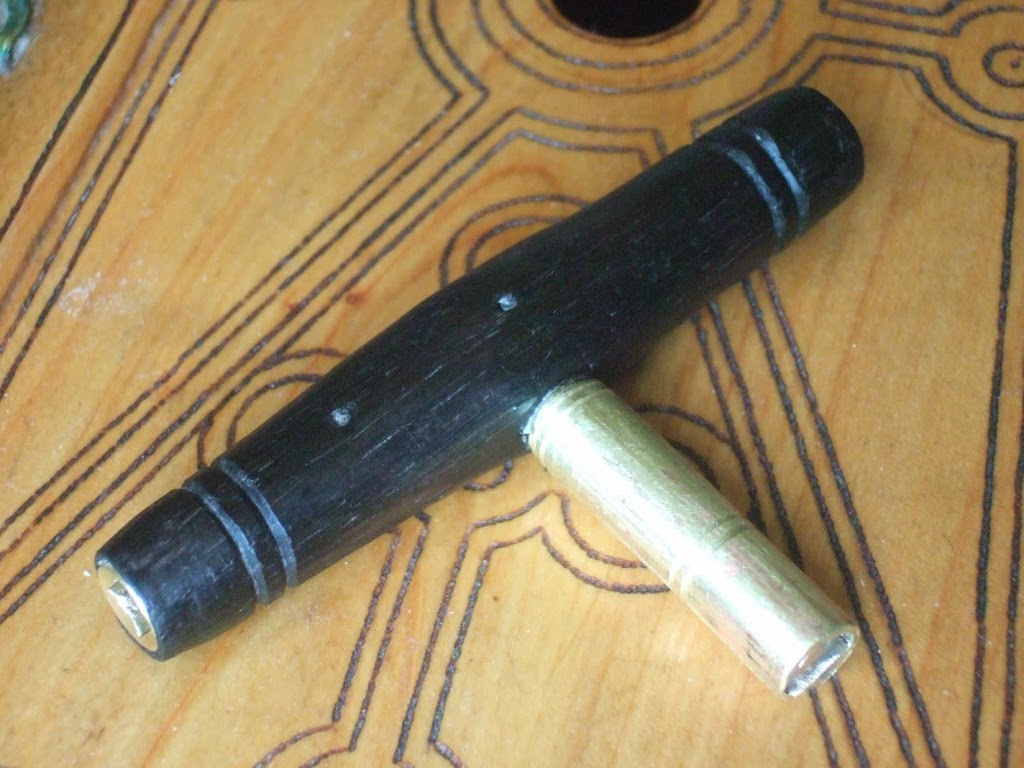
So today I made a new key for the Queen Mary harp. This one builds on my experience making the first. The design is the same – a T shaped pin, with a brass socket made from a rod soldered inside a tube, the end of the rod slit with saw and files to fit the drives. The second socket, from a large clock key, fits in the end of the handle. Both sockets are fixed in with little brass pins running through the wood, and secured with glue to stop them shifting.
For the handle of this key I used a piece of ancient Irish bog oak which Davy Patton gave me years ago. I had thought of carving medieval West Highland designs into it, and even gilding the designs, but as the handle took shape it became very spare and elegant. The bog oak does not carve very cleanly anyway. So in the end the only decoration was a pair of parallel incised bands at each end of the handle and each end of the main socket shaft, echoing the pairs of incised bands on the Queen Mary harp tuning pins.
I have to make another soon as my student who has the Student Downhill harp has lost the key for it. It ought to have a brass socketed key anyway as the commercial steel-socketed key it used to have was starting to chew up the decorated brass pins I have started fitting to it. Which reminds me, I need to finish the set of brass pins for that harp. So many jobs lining up…

7 string lyre bridge
My previous reconstructions of the Iron age lyre bridge discovered by archaeologists at Uamh an Ard Achaidh (Skye Pasture Cave) on the Isle of Skye, have interpreted the broken fragment as having only 3 string positions, framed by 4 pyramids along the top of the lyre.
However, it is possible that the flat shoulder on the surviving half of the bridge represents the broken off base of two more pyramids. If this were repeated on the missing other half, that would give a total of eight pyramids with seven string positions.
This week I made a bridge following this plan. I used a piece of yew wood from near St Andrews.
I’ll have both interpretations of the Skye lyre bridge as well as complete student lyres on my Emporium stand at the Edinburgh Harp Festival next week.


Some thoughts on replicas of old instruments
To me the extant surviving instruments are like treasure-houses of detailed specific data about not only the historical instrument design and construction, but also about all other aspects of the historical music-making (because of the presumption that the original instruments were commissioned by discerning musicians).
So I would regard every last detail about the old instruments as having something important to tell us. And as a player investigating the old music traditions, I want a replica harp that is as close as humanly possible to the old museum examples.
Of the two oldest Gaelic harps, the Queen Mary and the Trinity College harp, I would say they are remarkably similar in design and construction, and that similarity points to a shared conservative instrument-making tradition and a shared conservative music-making tradition, covering Ireland and Scotland. Similarities between them I take to be confirmation of that shared tradition; differences between them become specific individual features of that particular instrument. (you can do the same exercise with the later harps but there are more differences then. The Trinity & Queen Mary are by far the most similar pair I would think).
The Queen Mary harp is far easier to consider since a lot more info has been published on it, mainly the study in 1904 by R.B. Armstrong and more recently Karen Loomis’s ongoing study of it which is published in interim in the Galpin Society Journal 2012. The Trinity College harp is far less well studied or published; the information in Armstrong’s 1904 book is a lot more sketchy and has as I understand it at least one misleading error; and there has not been any further more recent published work than that.
 When I commissioned my own harp (which is a copy of the Queen Mary harp) I insisted that my maker simply copy every aspect he could see with as much fidelity as possible, from selection of timber through to decoration and even the idiosyncracies of individual fittings and adjustments. The idea being to end up with a new instrument that was as close as possible to handling the real thing in as many respects as possible. Since then, Karen Loomis’s work producing 3D X-ray models of the instruments and materials analysis, has revealed important structural and decorative information that would have led to some different decisions being made with my copy, but that is part of the learning process, and Karen’s study has directly addressed certain questions which were raised by my commission.

When I worked with David Kortier on the HHSI Student Trinity Harps, this was a somewhat different project. The initial aim here was simply to obtain a set of affordable harps for use in summer school classes. We were not satisfied with any commercially available models so we approached Kortier to discuss options and he ended up making a custom student model for the Historical Harp Society of Ireland. The main design criteria for this student harp were that it be affordable and quick to make, but that it present a student in class with the string count, string spacing, ‘feel’, and overall ergonomics of the original harp. So you see there was no attempt made to reproduce the subtleties of construction or decoration; but from the beginning the exact geometry and ergonomics of the strings were the most important thing. This was so that a class student given one of these harps would instantly be learning the finger movements and playing techniques exactly as on a proper replica (i.e. exactly as on the real thing!), even if the nuances of sound and response were not as accurate as could be obtained by a proper replica.
We based the first HHSI Student Harp on the Trinity College harp because it is the Irish national symbol and this seemed appropriate. Kortier had visited Trinity College and inspected and measured the original some time before, so he was able to use a lot more than just the published data; even so there were a number of details that had to be guessed or interpolated simply because the data about the original is not available. I mean the data is there, it exists, but it is locked away inside the fabric of the instrument itself and would need a long term detailed programme of scientific analysis like is happening in Edinburgh, to discover it.
So in summary, reconstructing an instrument from the surviving old instruments really needs a partnership between high-tech scientific analysis of the original, and a highly skilled sensitive craftsman-artist. In practice, you have to compromise and make do with what you can get – most of the compromise to date being on the analysis side I have to say. I hope that the recently published ongoing work in Edinburgh will soon feed into the work of the artist-craftsmen and we start to see really high quality accurate replicas that take on board and accurately reproduce these important new discoveries about the detailed features of the old harps.
Every level of data is vital – from the large scale measurements of height, width, string count and string lengths etc, down to tiny details of alignment and adjustment and profiling, all combine to give a very particular playing experience of the musician with important implications for what is and is not idiomatic for that particular instrument – and as our mission is to rediscover the lost old historical idiom, it seems to me that the idiom of each specific historical instrument (or rather, the imperfectly recreated idiom of each attempted reconstruction) is a vital tool for this. And that means that each reconstruction has to be as close as humanly possible to the specific museum original to have any value in that process.
New harp makers
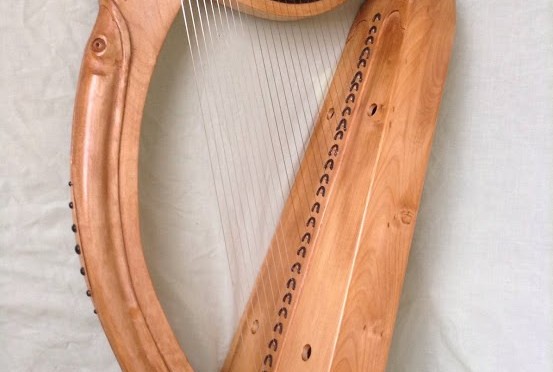
I’m always interested to encourage instrument makers who are looking to start building good copies of the medieval Gaelic harps, and recently I have heard from two established instrument makers who are branching out into early Gaelic harp territory. Both have chosen the Queen Mary harp as their model – a good choice given the amount of information published about it, especially since Karen Loomis has started publishing her researches now (see Galpin Society Journal, 2012)
Michael King is an instrument maker in England, specialising in lyres, kanteles and related instruments (I have one of his lyres). For him the Gaelic harp is a step up in size and complexity but the completed instrument looks very handsome I think:

More info from his website.
Pedro Ferreira is a Portugese instrument maker who produces exquisite clavichords and other baroque instruments. His Gaelic harp is also based on the Queen Mary harp; this is a slightlier simpler prototype I think. I am very excited to see a luthier with this amount of experience on sophisticated historical instruments turn their attention to our harps.

You can get more from his website or from his Facebook page.
As yet I have not seen either of these instruments in person, and I have not had a chance to play them or listen to them. Both of these harps have followed my ‘student’ stringing regime with brass in the treble and mid-range and sterling silver in the bass. I am sure both of them would benefit greatly from having gold strings in the bass instead of silver!
Harp string labels
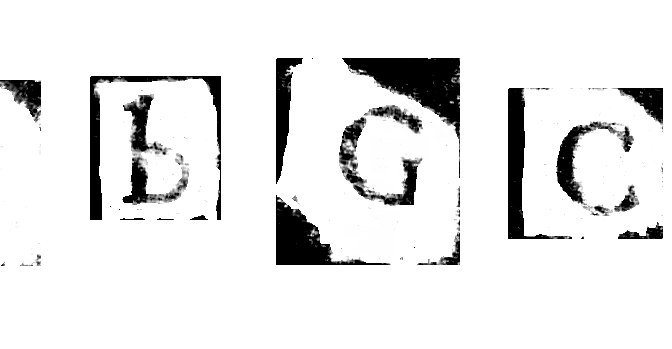
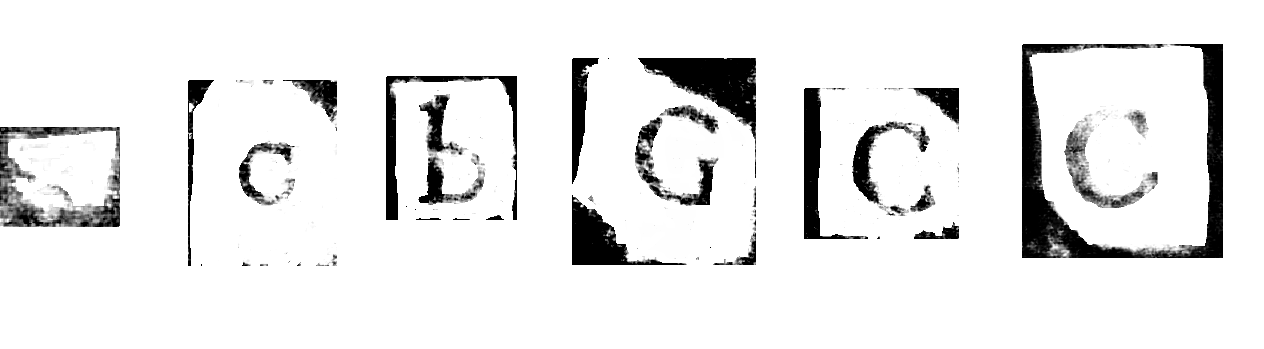
Recently I wrote a new page on earlygaelicharp.info, about possible inscriptions on the Queen Mary harp. As part of this I reviewed my photographs of the labels glued on the harp labelling some of the strings, and then I had the idea of photoshopping and cleaning up the photos, scaling them, printing them out and glueing them onto my replica in the appropriate positions.
For those of you with a Queen Mary replica who want to join in the fun, here is the image I ended up with. Print it out at 486dpi onto good old fashioned white or off-white laid paper, cut out along the black edges, and stick on using flour and water paste. The numbers go on the right hand side* of the string band (so they are visible for a left orientation player), and they are upside-down when the harp is in playing position, so the player can read the letters. They go in order, counting from the treble: 1 [illegible], 8 [c], 9 [b], 11 [G], 15 [C], 22 [C].
Any problems or questions let me know! If you send in a photo of your harp with the labels stuck on, I will feature it here!
*Right and left hand side of the harp are described as from the viewpoint of the player, not of an onlooker