I have just installed a custom-made pickup into a second harp, and so this post is to document some aspects of this process for anyone else who is interested to make a DIY pickup system for their harp.
I am not getting into the nitty gritty of the most optimal sound. If this is of concern to you then you either need to be at a much higher level of components choice and electronic engineering than me, or purchase a ready-made off-the-shelf system like the Dusty Strings harp pickup system. You can get your local harp maker or harp technician to install this for you.
But if like me you want a DIY project which will amplify the harp for outdoors gigs such as a wedding in a marquee or garden, or playing in the street, this post is for you.

I made my first harp pickup in the autumn of 2025. During the summer I had played two events where the harps were basically inaudible, one background music at a private party with about a hundred people in a large room all drinking and talking loudly and excitedly, and the other a meeting of the local historical society in a tent in a farmyard, in the lashing rain. I realised that there are times when you just need to plug in and turn it up.
I have done events before where a sound man has set up microphones on stands pointing at the soundboard, but that is a lot of hassle and I’m not sure it gives a very good sound. I also did not think this would be a good solution for me to have all the gear and to set it up myself. I have also tried a ready-made 2-disc Fishman pickup, though with just two discs it was hard to place them to get a balanced sound. Also this was not permanently installed, and whatever temporary fixing used kept falling off which was a bit useless.
Both of the harps I fitted the pickups to are 37 string John Egan design wire-strung Irish harps.
Concept
The basic concept is based on whatever I could read online about simple pickup systems. I knew that I wanted it permanently installed. More than one piezo disc is usually used if more than one part of the instrument produces the sound; on these harps, the soundboard is very long and active along its entire length, and so I thought a series of discs spread along the length would be the most effective. I remember Dave Kortier used to use a piezo element on every single string, as part of the string shoe, but these were special shoes, not easy to retro-fit to an acoustic harp. I knew I wanted the ordinary disk-shaped piezo pickups. Some people suggested that too many pickup discs could cause problems, but four seemed a sensible number. I also read discussions of fitting home-made DIY pickups to home made cigar box guitars, which suggested wiring the disks in parallel. I also understood the need to shield as much of the system as possible to avoid hum from the wiring picking up interference. A more fancy system could wire each disk separately to knob controls, allowing the blend of the different parts of the soundboard to be adjusted, but I didn’t want anything that complicated.
The wiring loom
My pickup is made from four 20mm piezo disks, wired in parallel along a length of shielded microphone cable. The cable was cut to length following a cardboard template that indicated the size and shape of the inside of the soundboard. At each of the four disk attachment points, the cable was cut, and stripped and re-joined:

After soldering the pickup disk wires to the main cable wires, each join was wrapped in vinyl tape, and then the braided shielding was joined, and then the whole wrapped in copper tape to make a continuous shield. Finally black vinyl electrical tape covers the copper and makes it all look neat and discrete.

Unfortunately I never photographed the complete wiring loom outside of the harp, but you get the idea.
Installation inside the harp
The shielded cable needs to be supported not touching the soundboard, and also not able to buzz on the wood. I considered different ways to do this, including glueing it to the curved back shell, but in the end I thought attaching it firmly to pylons would be the best. I carved four wooden pylons, each with a flat bottom and a channel on the top, and a hole through the side. These were glued to the lining strip inside the harp with hot hide glue, which means they are fully reversible. The cable is laid along all four pylons, and a plastic zip-tie goes through the hole and pulls the cable firmly into the groove.
Then the discs are glued to the inside of the soundboard using the hot hide glue, again being fully reversible.

The jack socket
The wiring loom is connected to the jack socket towards the base of the harp. How to install the jack socket was the thing I was least certain about.
For the first harp I did, I got a socket that required making a mounting plate. I used an old tin can and bent it in to shape to make a metal housing. This photo shows the socket with a card template for the metal housing.

Copper tape was applied to a leather sheet which covered the base of the housing, so that the socket was shielded on all sides; the leather also cushioning the flanges that screwed onto the inside of the back of the harp to prevent rattling.
This solution to the jack socket is almost totally invisible from the outside of the harp (unless you peer into the back access holes). The only damage to the harp is four small screw holes. You have to tip the harp over on to its back or side to get to the socket, so plugging in and unplugging is not particularly convenient.


For the second harp I did, I tried a different approach. I got a barrel jack socket, like what is used in acoustic guitars. This requires a 11.5mm hole to be drilled through the back of the harp. This socket is easier to use, since the harp does not need to be tipped over to access it. It is visible on the back of the harp but it is pretty discreet so I am happy with this.

Conclusions
The components are pretty cheap but the time and effort is quite a lot, at least for the first attempt. But I learned a lot about the design of these kind of circuits, and the parameters. And it is good to have the harp ready to be plugged in without any faffing around.
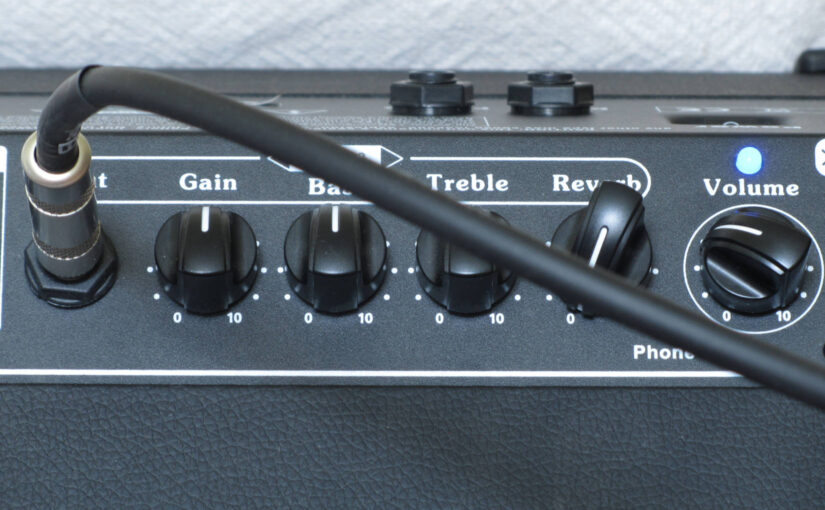
I am sure the amplifier controls could be set better but to be honest it is not intended for use in a small room like this. The video just gives you an idea of the thing.
Hah! I love this!
I love that what you’re playing here is so profoundly beautiful. And the way that that fits so oddly with the mechanics of amplification.
You’re such a proper workman with all that electronic stuff. And you’re doing it on a harp JUST LIKE BYRNES’ OWN!
How frickin’ sweet is that? Good on ya, Simon. I love it! I’m so looking forward to hearing you live someday (with or without amplification).