
I thought it might be useful to do a photo-essay on how I go about making a tuning key. I think tuning keys are easy to make (they must be if I can manage!) and there is a lot of scope to adjust the design to make it work exactly how you want it to, in terms of appearance, ergonomics, and fit on the pin.
I came up with the design of this myself – we don’t have a single key from any of the old Irish harpers, but we have the pins and so this is designed to work with the traditional old Irish harp tuning pins. We also do have tuning keys from the wider European tradition, and I am partly inspired by them. I am always on the look out for more examples of old tuning keys to help me refine my ideas!
This tuning key is T shaped, which is what I usually do. However it was intended to have a very fat handle to fit ergonomically into the hand. This is not my preference but it was an experiment.
Socket shaft
I usually start with the metal socket or shaft. For this key, I wanted it to have a no.14 5.75mm square drive socket to fit on the large traditional old Irish harp tuning pins. The easiest way to get a no.14 socket is to pull a clock key apart.

Clock keys usually have a flat plate inserted into a slot cut in the end of the shaft. Sometimes I pull the plate out, but in this case I decided it was easier to cut the plate and use it in my design.

Brass clock key shafts are usually a bit shorter than what I want for a harp tuning key, so I will need to lengthen it. If you want a short shafted tuning key, or if you are using a longer plated steel clock key shaft, you can go straight to the drilling stage. But to lengthen this shaft, we will need a short length of 8mm brass rod, which I slit with a hacksaw to fit onto the stub of brass plate. I also file the shoulders of the shaft to make everything square and lined up:


Then I silver-solder the two parts together. Here you can see the solder flowing into the joint.


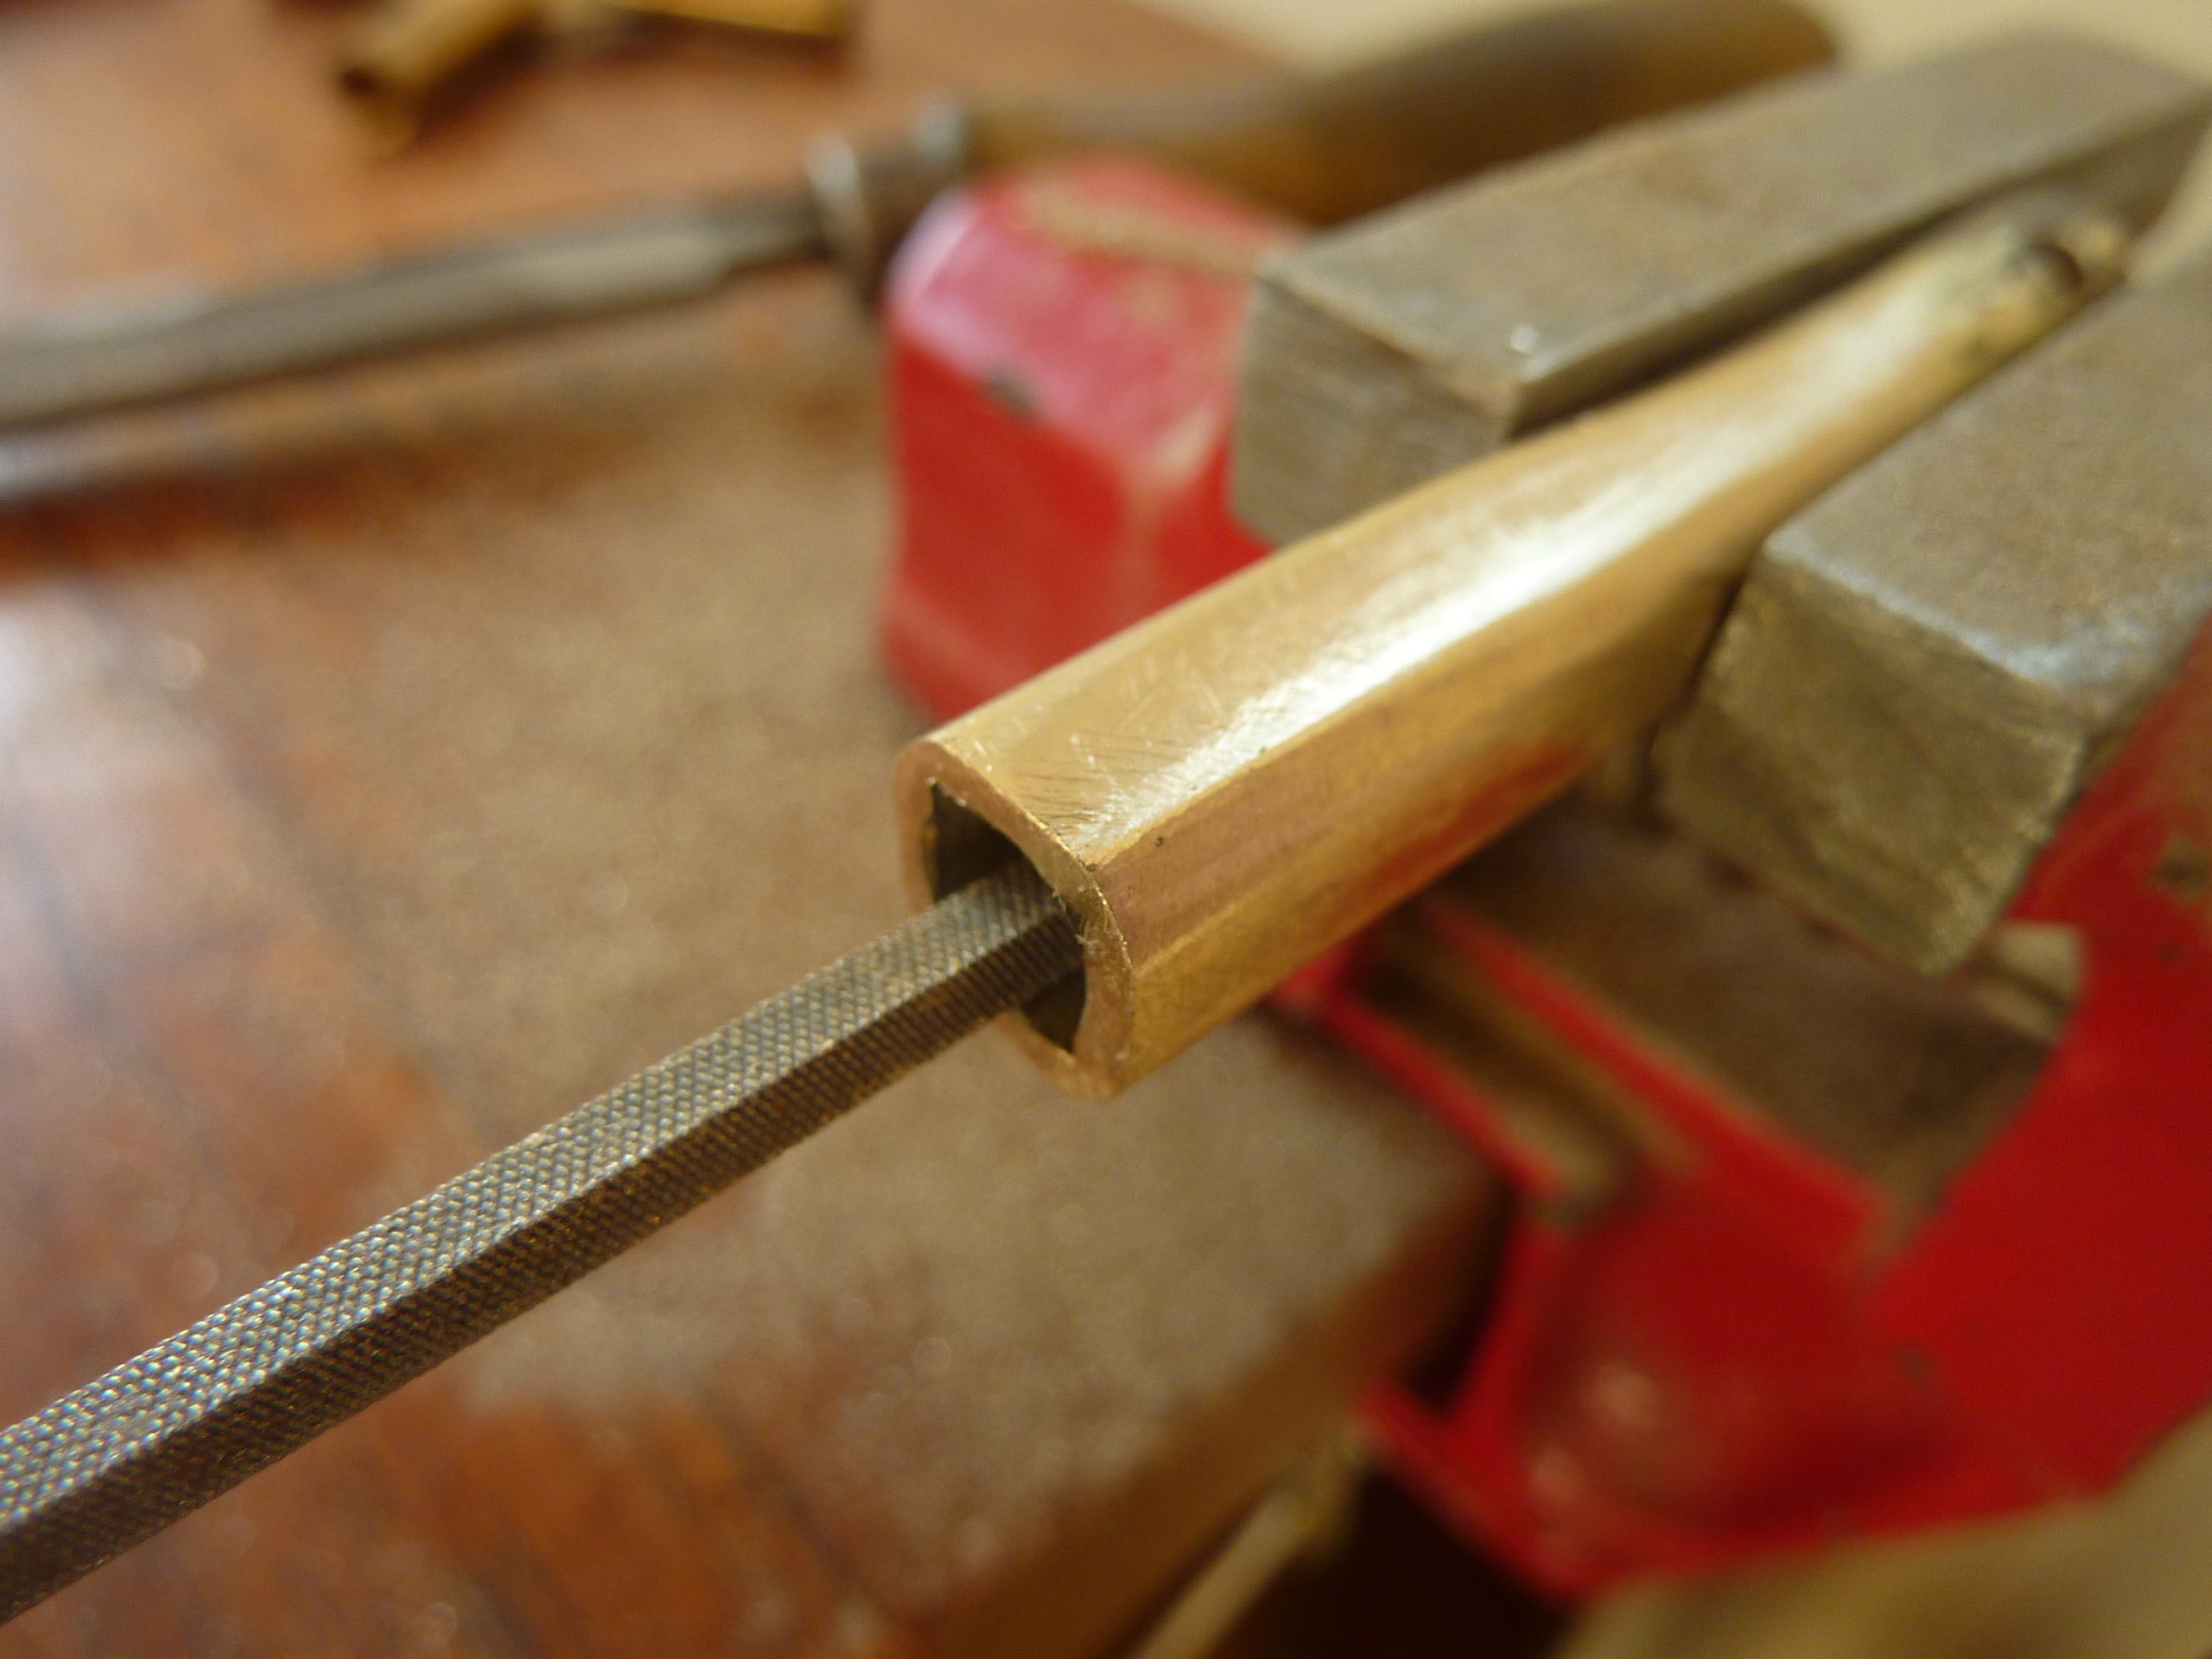
Now I will file the surfaces of the shaft to make it neat and get rid of the rough edges. I don’t want to file the 8mm brass rod, because it will fit into an 8mm hole in the handle, but I do need to get rid of the edges of the brass plate. After that you could file it however you like. Personally I like to taper the key down to get rid of the step between the clock key shaft and the 8mm brass rod, and I also like to give some subtle shaping to the shaft. Sometimes I will file decorative engraved bands around the shaft but I didn’t for this one.


This next stage is purely aesthetic, and I think it might even weaken the key a bit, but I like the look of it so much that I do it anyway (only a bit and very carefully). I file subtle flats on the socket end of the shaft, lined up with the square socket inside.

Then finally I use a very fine file to remove the coarse tool marks and smooth the whole surface. I also file across the end to square it up.

The shaft needs a hole drilled across the end which will fit into the handle. I use a small drill press to do this, though I have done it with a hand drill before. I use a 3mm drill, so that we can use a 3mm pin to hold everything together.

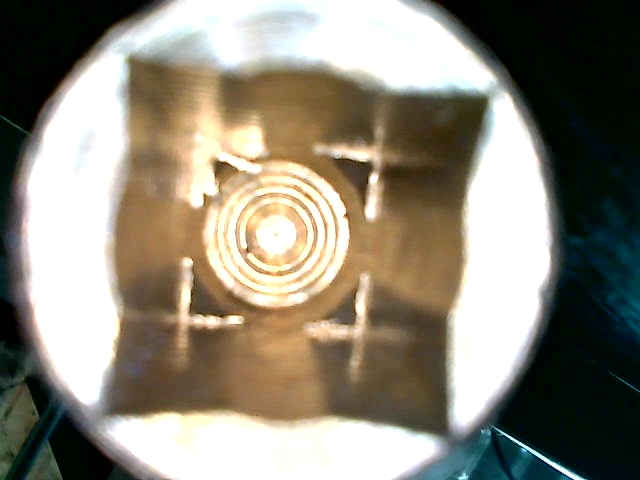
And finally, depending on the socket and the pins, it is worth adjusting the inside of the socket with a slim square file. In this case, the socket was made with a circular drilled hole, and then squared off inside. But the squaring off is not as deep as the circular hole, so little fillets are left in the inside of the socket. I tried to photograph these fillets for you, I’m not sure if they came out OK. But I filed them down so that the socket will fit better onto a range of different pins. I think it is very important that the socket fits snugly onto the tuning pins – if the fit is loose then accurate tuning becomes much more difficult, and the pin or the socket or both will wear much faster.
So much for the shaft! As I said at the beginning you could cut out a lot of this work by just using the clock key shaft as is, removing the plate handle and drilling the hole. Often, the handle is held into the slit in the shaft by a little “dent” punched into the shaft. If you drill the 3mm hole down through this dent, then you may find the plate handle is easily released after that.
Handle
Because I wanted this key to have a fat handle, I looked for the fattest wedge of wood in my box of tuning-key-handle bits. This is a piece of birch that came from a tree that was being cut down here in Armagh, which I was able to salvage a bit of. It isn’t a very impressive piece of wood but it will do. When I salvage a log like this I cut it to length and split it into wedges like this, and then put them away for a year or more to season.

After that its just cutting it down to size and shape. I am not a very competent woodworker so it is done very roughly, first with a big knife…
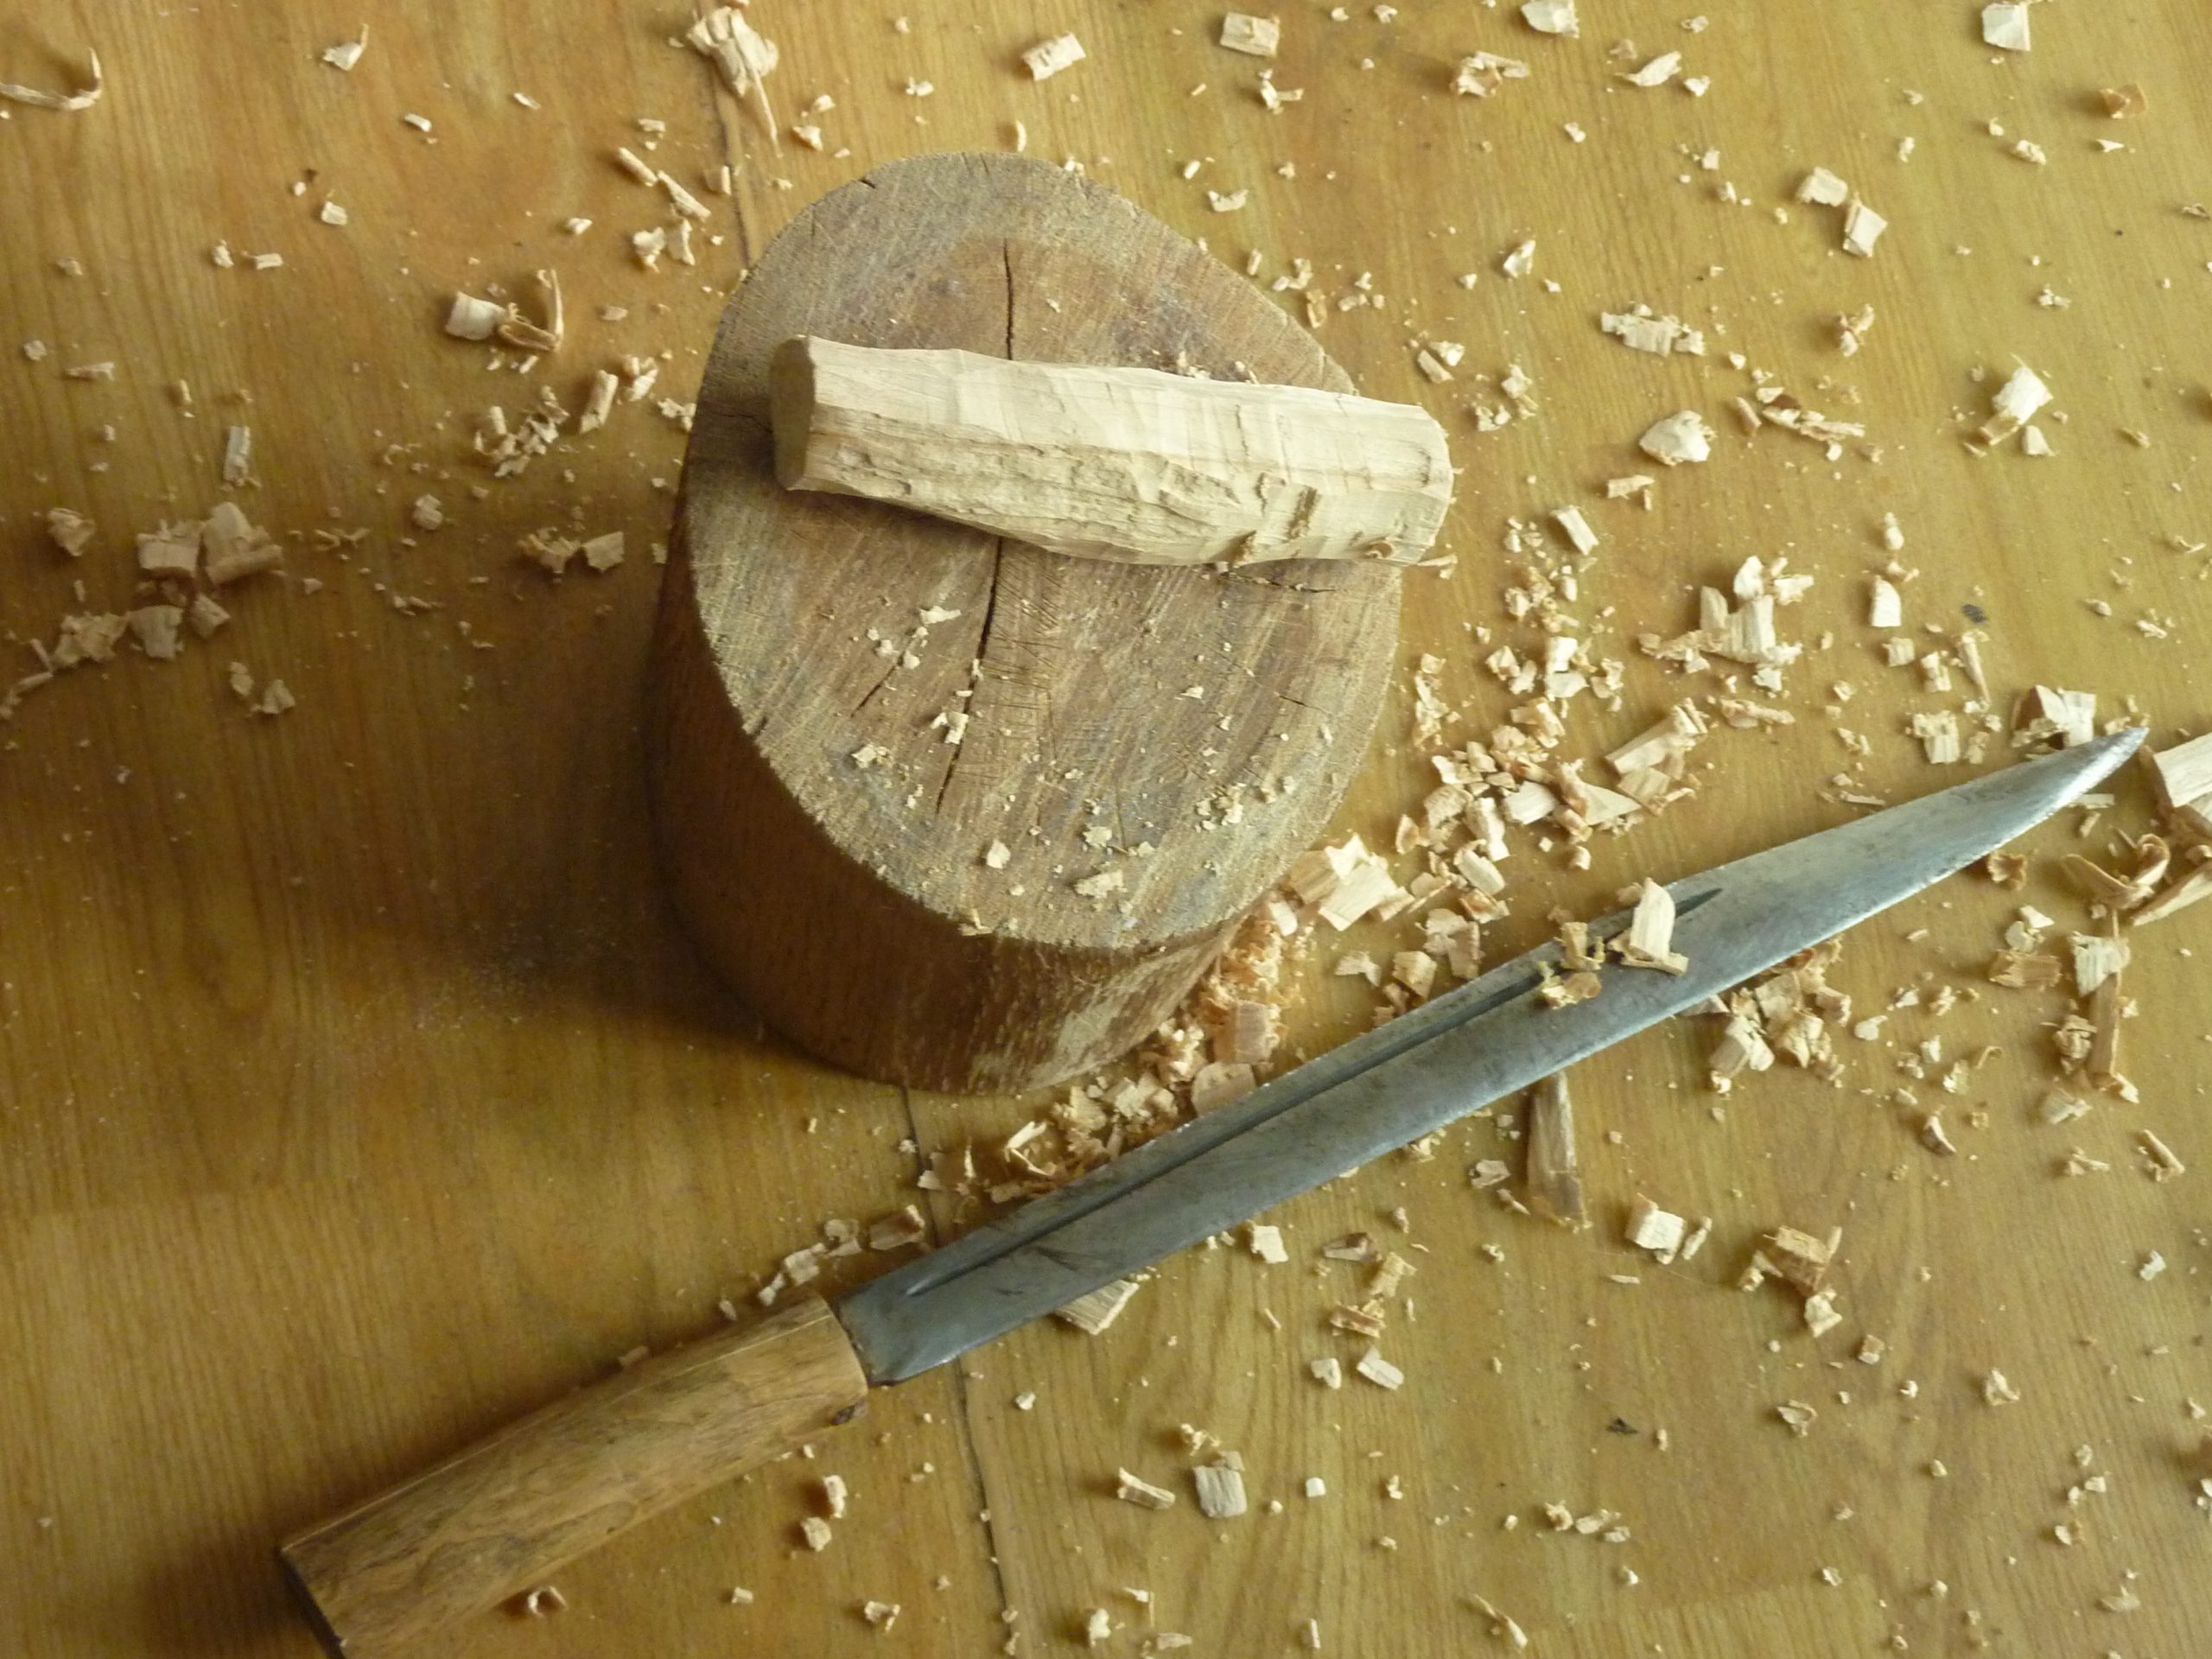
Then with a little knife…

And finally with a scraper.

I don’t usually have a plan for how the handle will turn out; I follow the shape of the wood, and try to make it symmetrical. I liked the way the bulge developed on this one, so I made a kind of ergonomic feature of it. Different people have different preferences for how the key fits into the hand, but I think it is important that it is comfortable to hold and to use.

The socket fits into an 8mm hole drilled into the handle. I mark the drill bit with tape to stop me going too deep.
Once the socket is inserted, then a 3mm hole needs to be drilled through the handle, lined up with the hole drilled across the shaft. This is very hard to get everything lined up well. I find that the easiest way to get a neat lined-up hole is to do it very carefully holding the key in my hand, with the shaft inserted – that way you can feel the drill moving in the hole, and you can get the hole in the wood exactly lined up with the hole in the shaft all the way through.


It is really important that the shaft is a tight fit into the handle with no play or movement. Apart from the inevitable wear that will happen if the shaft moves inside the handle, it also makes accurate tuning much harder if there is slack in the joint. I am looking for a tight correct fit with absolutely no slack at all. The way to ensure this is to start with a good close fit, and then lock it in place with glue.


That’s it. I hope you find this useful. Any questions let me know. If you want me to make you a key like this, or if you want me to make up the shaft socket for you, there is information on my Tuning Key shop page.
Thank you, Simon. You keep nothing proprietary, and freely share. “Give and it shall be given” takes on added meaning with every column you write.
God bless from Jeannie and I here im Colorado.
Well done! I’m impressed. It almost looks therapeutic!
Thank you for sharing your experience.
I think that this kind of assembly will get the shaft loose after some time. It would probably be better to weld a bar in the same metal as the shaft to make a T and then “wrap” it in a wood handle. You can probably do that, do you ?
I have an antique piano tuning key that is made exactly like this. But for our harps it is probably overkill.