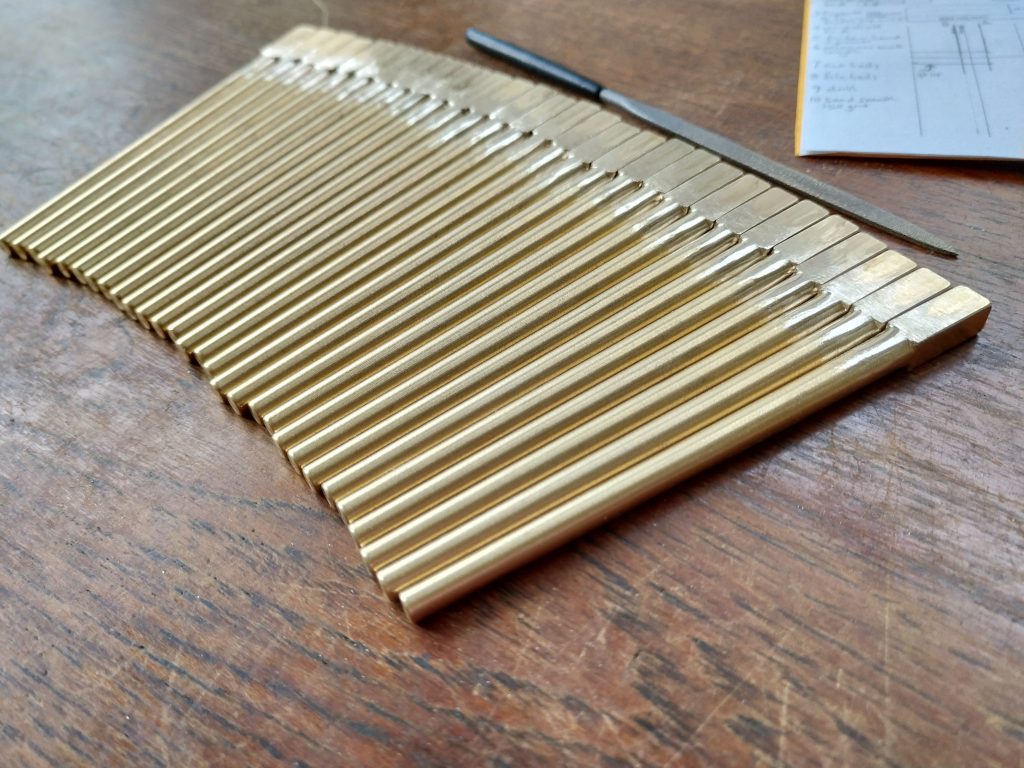
This post documents the making of a set of 29 tuning pins, starting with my turned brass pin blanks.
This set was commissioned by a musician who has a high quality early Irish harp, modelled after the medieval Trinity College harp. The harp was made perhaps 10 years or so ago, and back then it was still usual for modern steel harp pins to be fitted to a high quality hand made harp (it was before I was offering blanks or pins for sale). They asked me to make a replacement set of handmade brass pins to be swapped into the harp.
The modern steel pins that were originally fitted were no.4 taper, and so I could use my new turned brass blanks. However because the steel pins were driven quite far in, and I did not have hands-on access to the harp, to check clearances, I needed to do extra work to cut the tapered shafts slightly further into the heads of the blanks. Otherwise there would be the danger of the heads fouling on the brass cheek-pieces of the harp on some of the pins, or if there was wear over time. I would not need to do this extra work if making pins for a new harp, since the holes could be reamed a tiny fraction smaller to fit the pins. But I quite like doing this extra work; I like the hand-rounded aesthetic of the part of the pin that projects on the right of the neck.
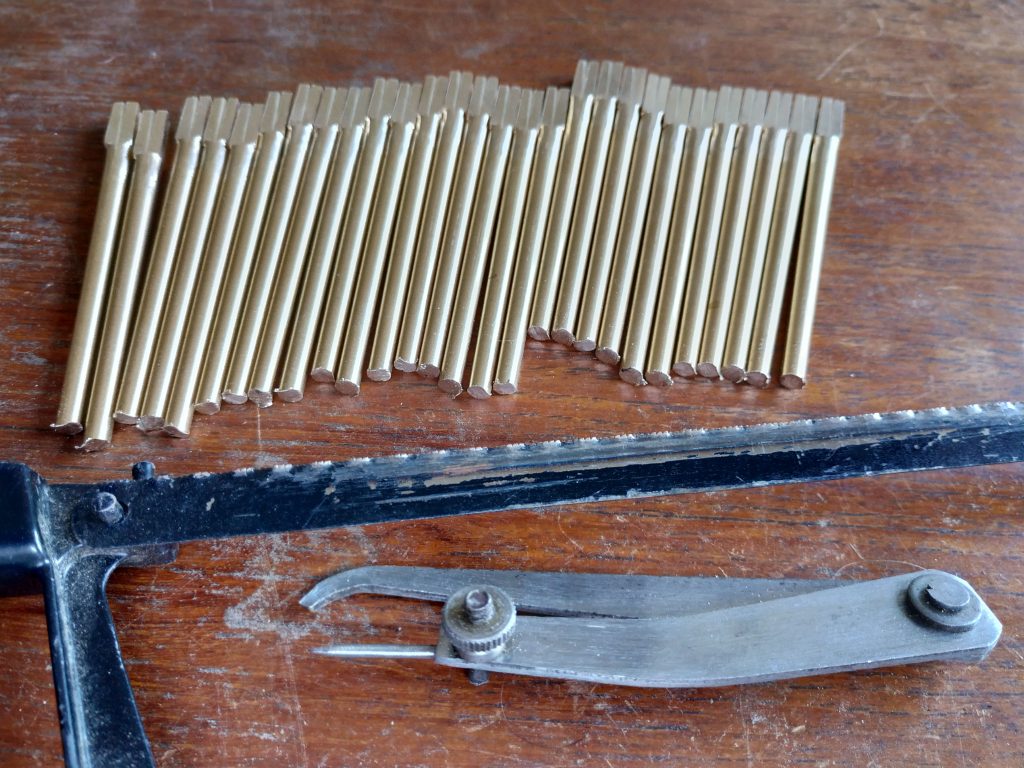
Anyway the first four stages of work involve this lengthening of the tapered shaft:


These four steps take just over 6 minutes per pin, and they leave us pretty much back where we started , with a tapered shaft and oversize square section head, except that the shaft is now a bit fatter, to make these very slightly oversize no.4 pins. If we wanted to make very slightly undersize no.4 pins, we could save this 6 minutes work and go straight to step 5.
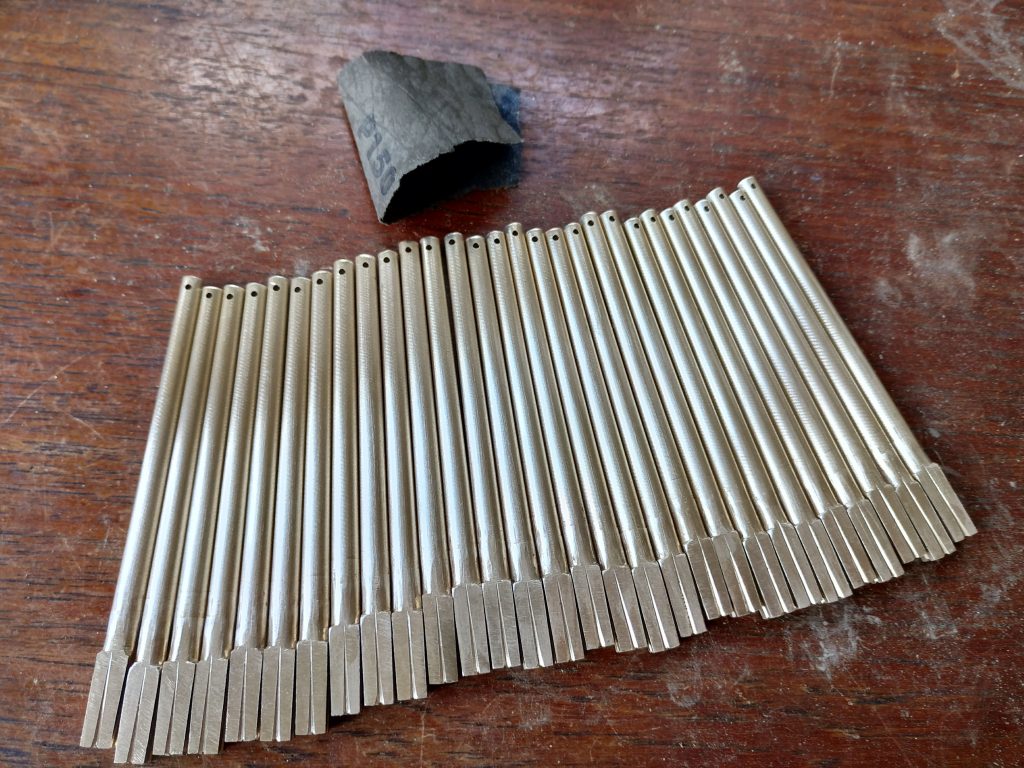
The next step (5) is the longest and most complex stage of the making, but I do it all at once for each pin, taking about 7 minutes per pin. I taper the flats of the head in the opposite direction to the shaft, using a square key socket (no.14 size, 5.75mm) as a feeler gauge to get the size just right. Then I use a small square file to make the long groove down each of the four faces, and finally I file the grooves on the end, which join the four long grooves.

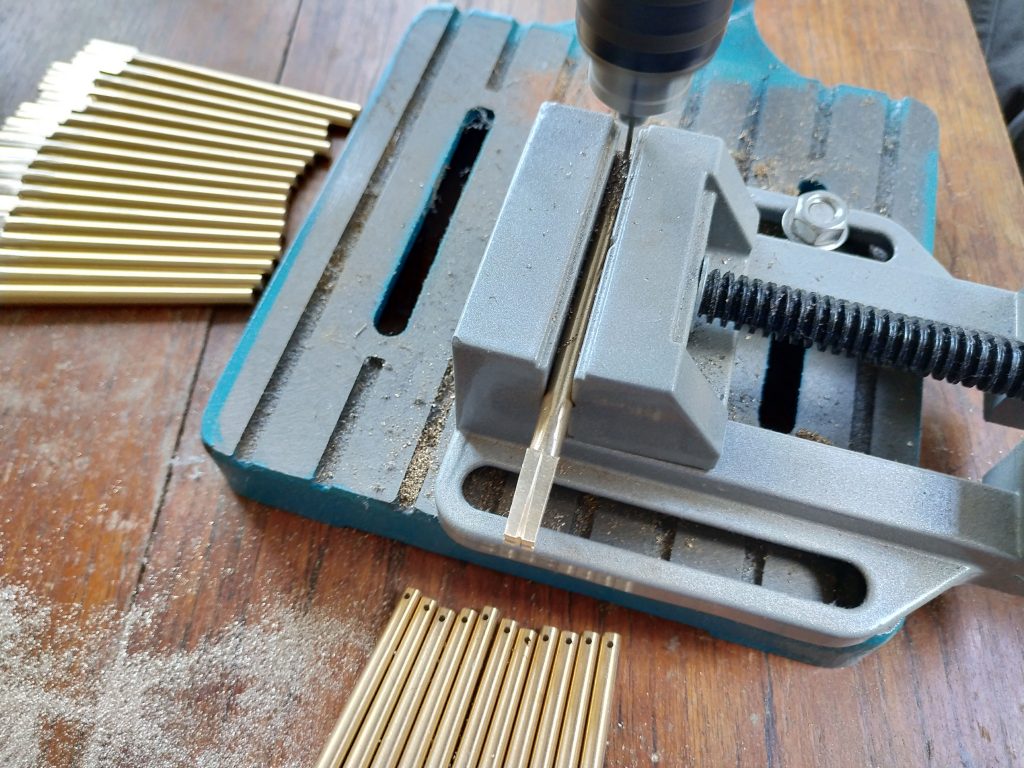
This completes the heads of the pins. All that remains is to cut and drill the tails, and smooth the shafts. These operations take just under 2 minutes per pin.
Step 6 (not shown) is to mark the lengths of the pins.

Step 8 (not shown) is to file the cut ends smooth, first with the big file and then with the wee one.


That’s it. I hope you find these pictures and descriptions useful.

Does the drill bounce off the curve?
I’m using a pillar drill, with the work mounted in the vice. Even then it requires care to start the hole.
Simon, I briefly toyed with the idea of making my own Irish harp back in the mid 1970’s. The task loomed bigger than my capabilities. My daughter played a neo-Irish harp -plywood construction, modern strings etc. I did have a set of metal strings but never got around to re-stringing it.
I stand in awe!
Thanks John. Making an entire harp is way above my pay grade too, I am no good at the woodwork side of things, and there are people out there who are doing amazing work. The only reason I started doing the pins was because no-one else seemed to be.
Check out my Plans page for resources on harp design and construction.
Great article & photos. I think using the blanks is a sensible option to the pyramid drive. The photo showing the set hanging upon the wire gave me pause to a silly idea, but then wondered about blanks of medieval silver (with 3% gold) probable for the Trinity College…
Thanks Ann, yes they make fantastic jewelry! They’re already away in the post or I would have modelled them for you!
The thing with getting blanks made is that they cost more the fewer you get, the set up time is the biggest cost. I considered getting some iron and some brass but in the end I thought simpler was better and just got a few hundred brass ones made. I’m not convinced silver pins would work, my guess is that they would be too soft or weak, and it would be an expensive experiment… All the old pins I have ever seen look like brass or iron.