
I made a case for the harp, and I photographed every stage so that I could show you the process. If you want some background to the design decisions see harp case part 1 and harp case part 2.
Materials
The case has an outer skin of leather, and an inner lining of cotton quilting. I ordered natural undyed untreated vegetable-tanned leather from Le Prevo Ltd. in England – I have been ordering leather from them since the early 1990s. I got two 2.5mm thick “rio sides” (each basically half of a cow hide) and two thicker cut belt-straps to make the shoulder strap.
I ordered cotton bed sheets to give me a quick and easy source of cotton fabric, and I ordered cotton felt upholstery batting for the stuffing. I also had to spend a bit of money on thread, needles, etc. but the total cost of materials was about the kind of price I had budgeted for a modern synthetic case. If I were to also price in my two-and-a-half weeks of part-time labour for making it, this case would work out to be outrageously expensive!
Quilted inner
I made the case around the harp, using the harp itself as a pattern or template. I started with the sides, cutting a double layer of cotton fabric, and a single layer of the fluffy cotton batting. Then I quilted the panel together on the sewing machine.


As you can see, the quilted cotton lining is very soft and comfortable, and my little helper was anxious to test every part of it for softness and comfort.
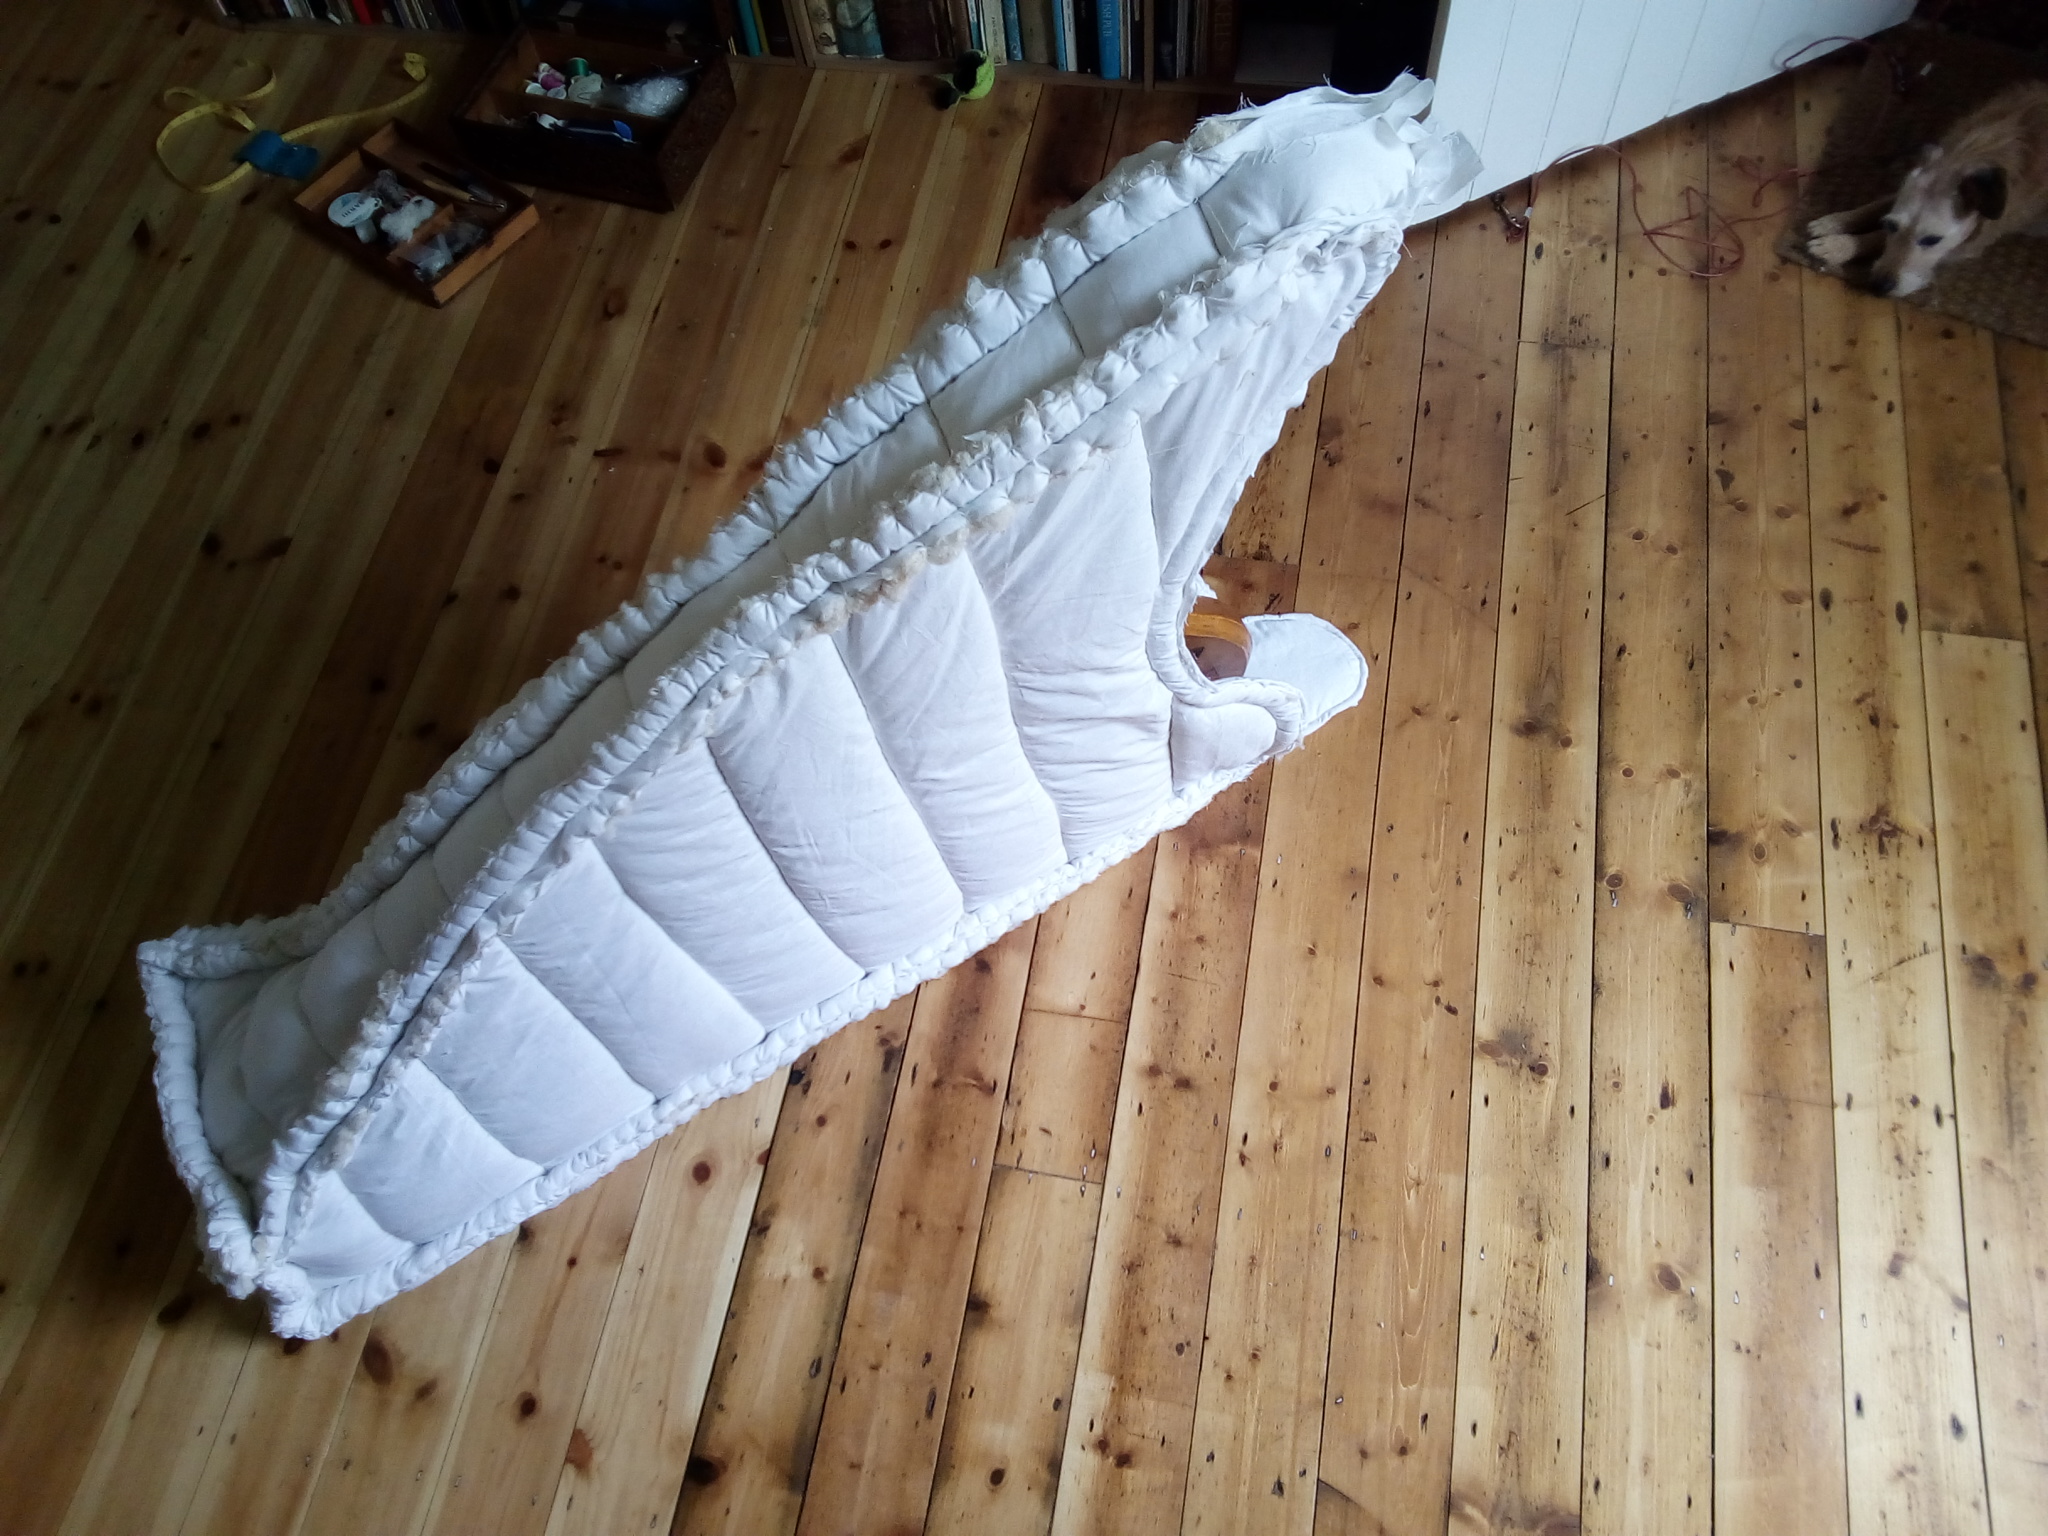
When I had finished the quilted lining, it formed a kind of soft case all of its own. I basted over the fluffy edges of the exposed batting – at every stage I tended to leave a bit extra at the edges, to allow for adjustments down the line.
Leather outer
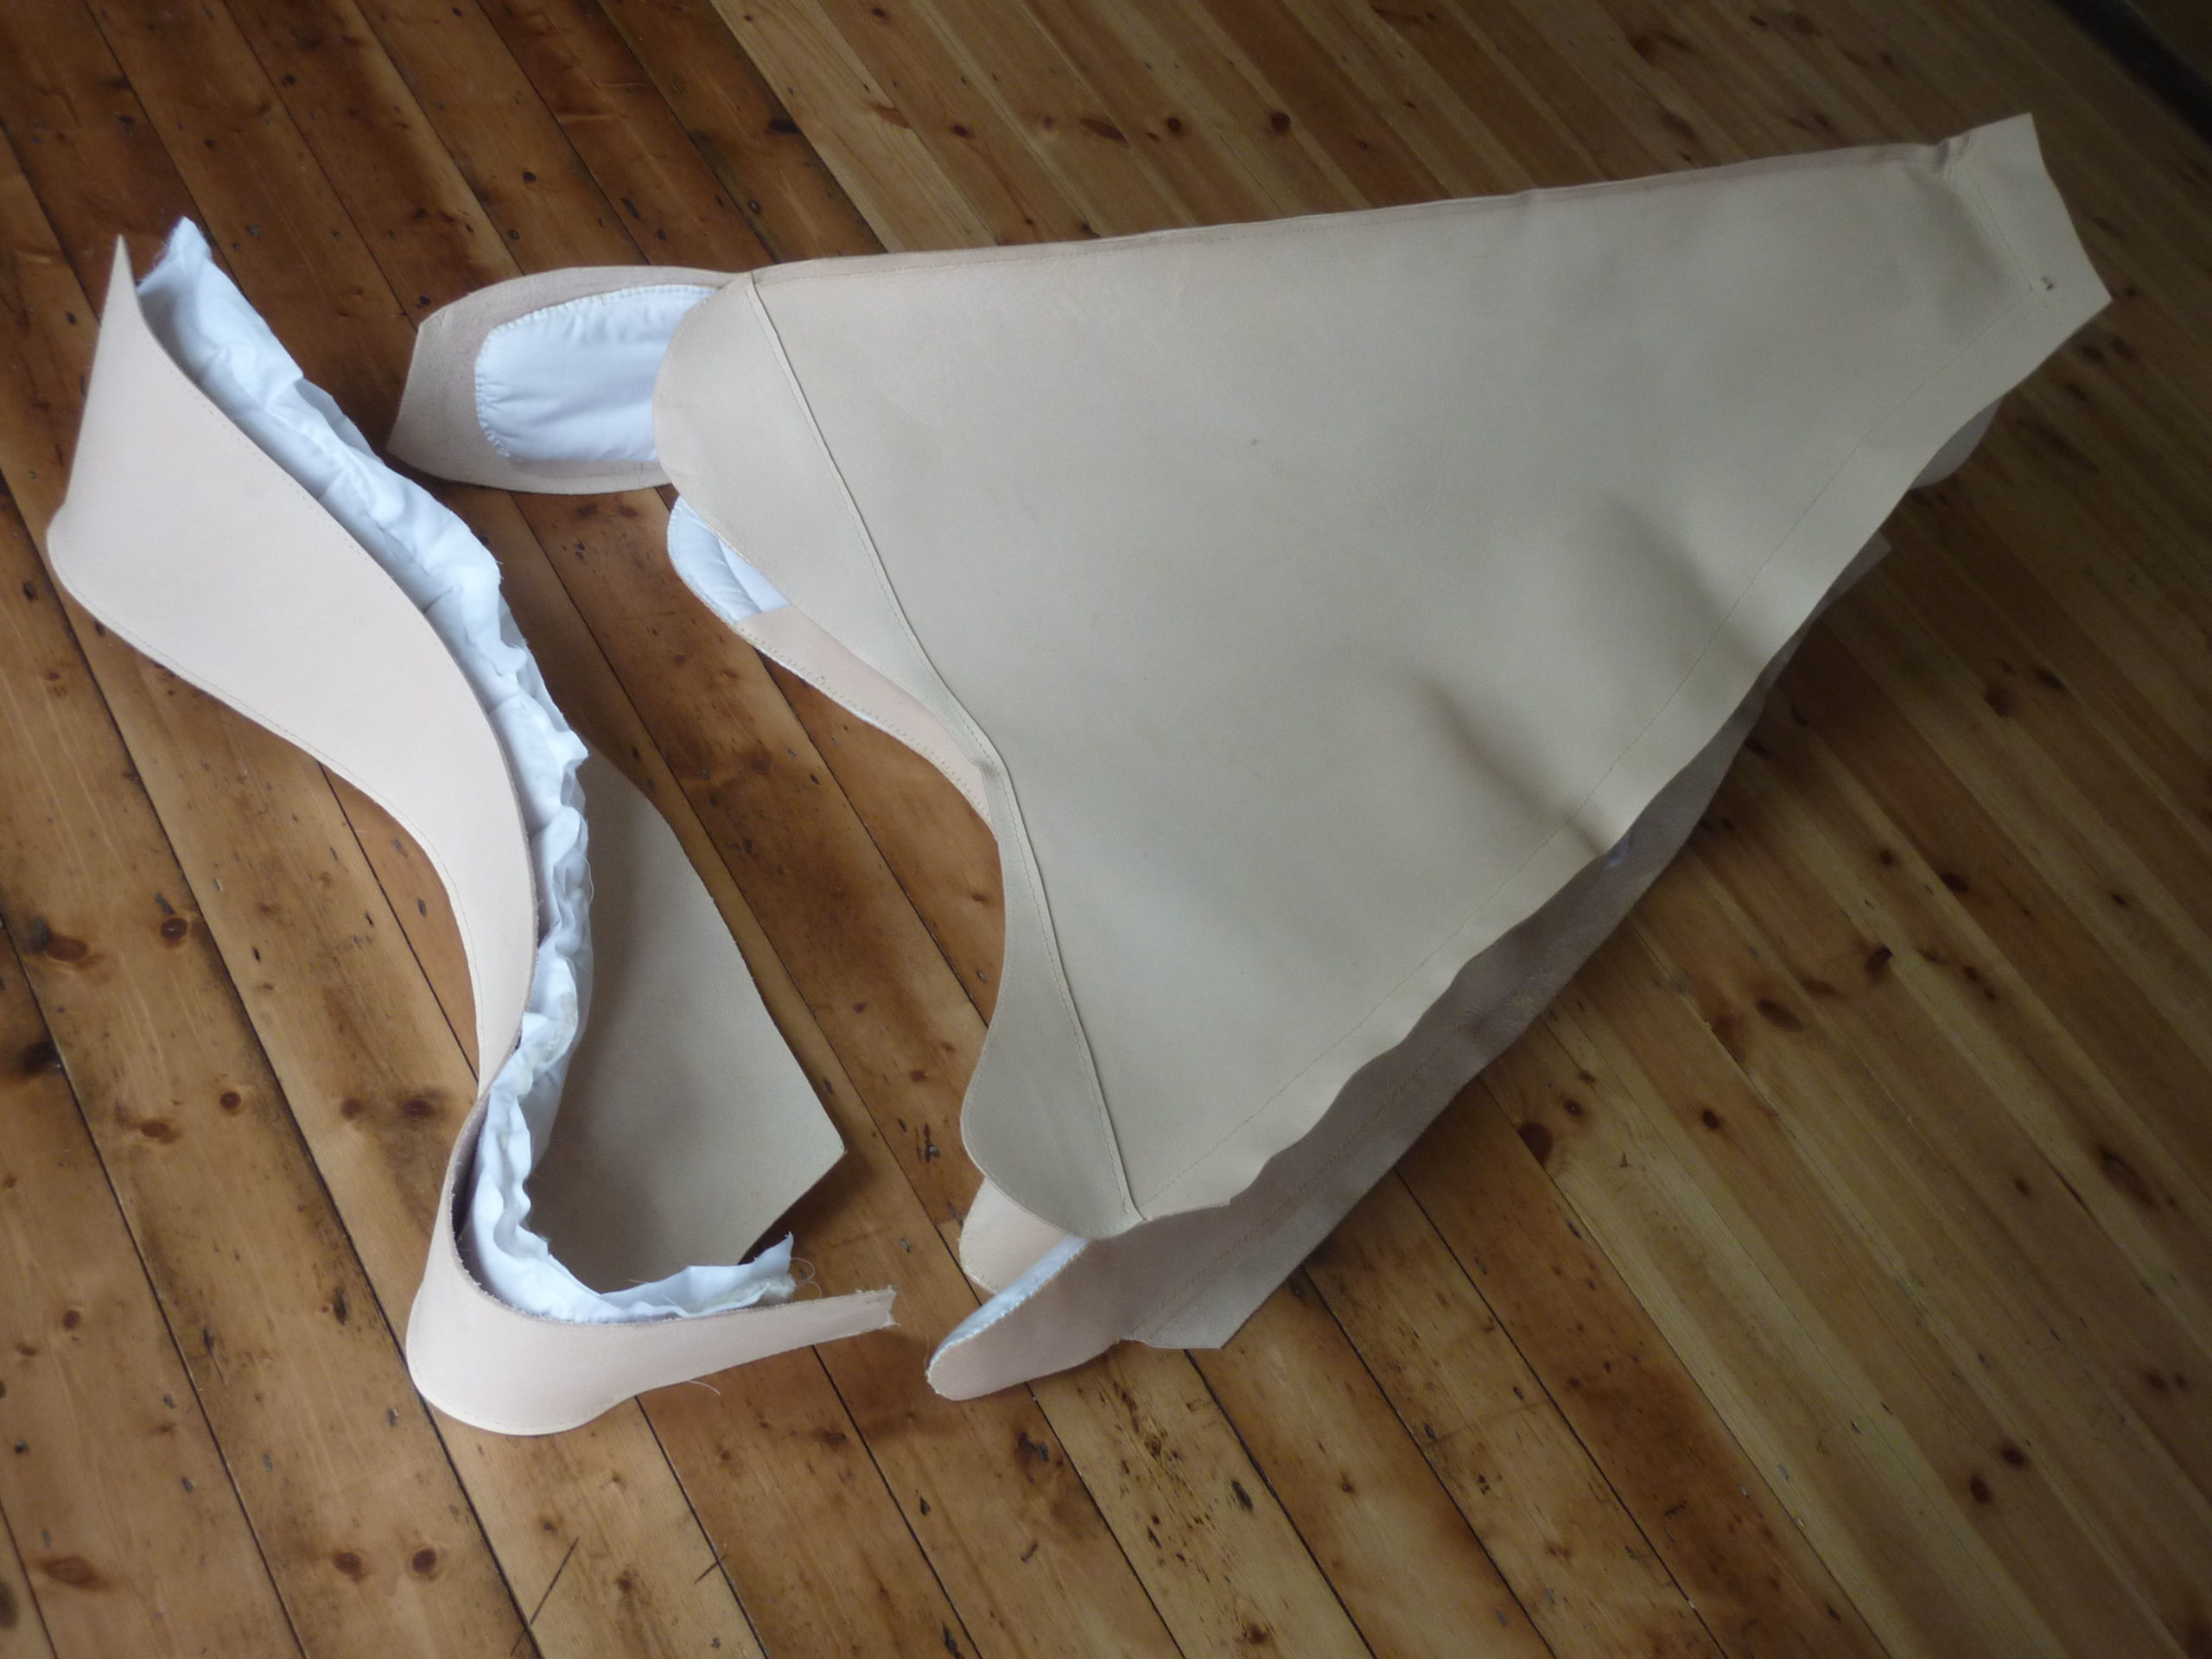
Then I started cutting the leather. I did a lot of thinking and sketching before cutting, because the leather is so expensive. I considered that the quilting added about one inch of padding, so I based the leather bag on the shape of the harp with a one-inch margin to the stitching, and I also double-checked with the harp inside the quilted inner as well.


I sewed the leather panels together by hand, using saddle stitch with two needles. This is very slow hard work. I used an awl to pierce holes every 1/4 inch, and I used “artificial sinew” instead of linen thread to sew it together – my one concession to modernity. In the past I have sewn this kind of leather with waxed linen thread, but I intended treating the leather with dubbin which I know can rot the linen thread, and I didn’t want to have problems down the line.


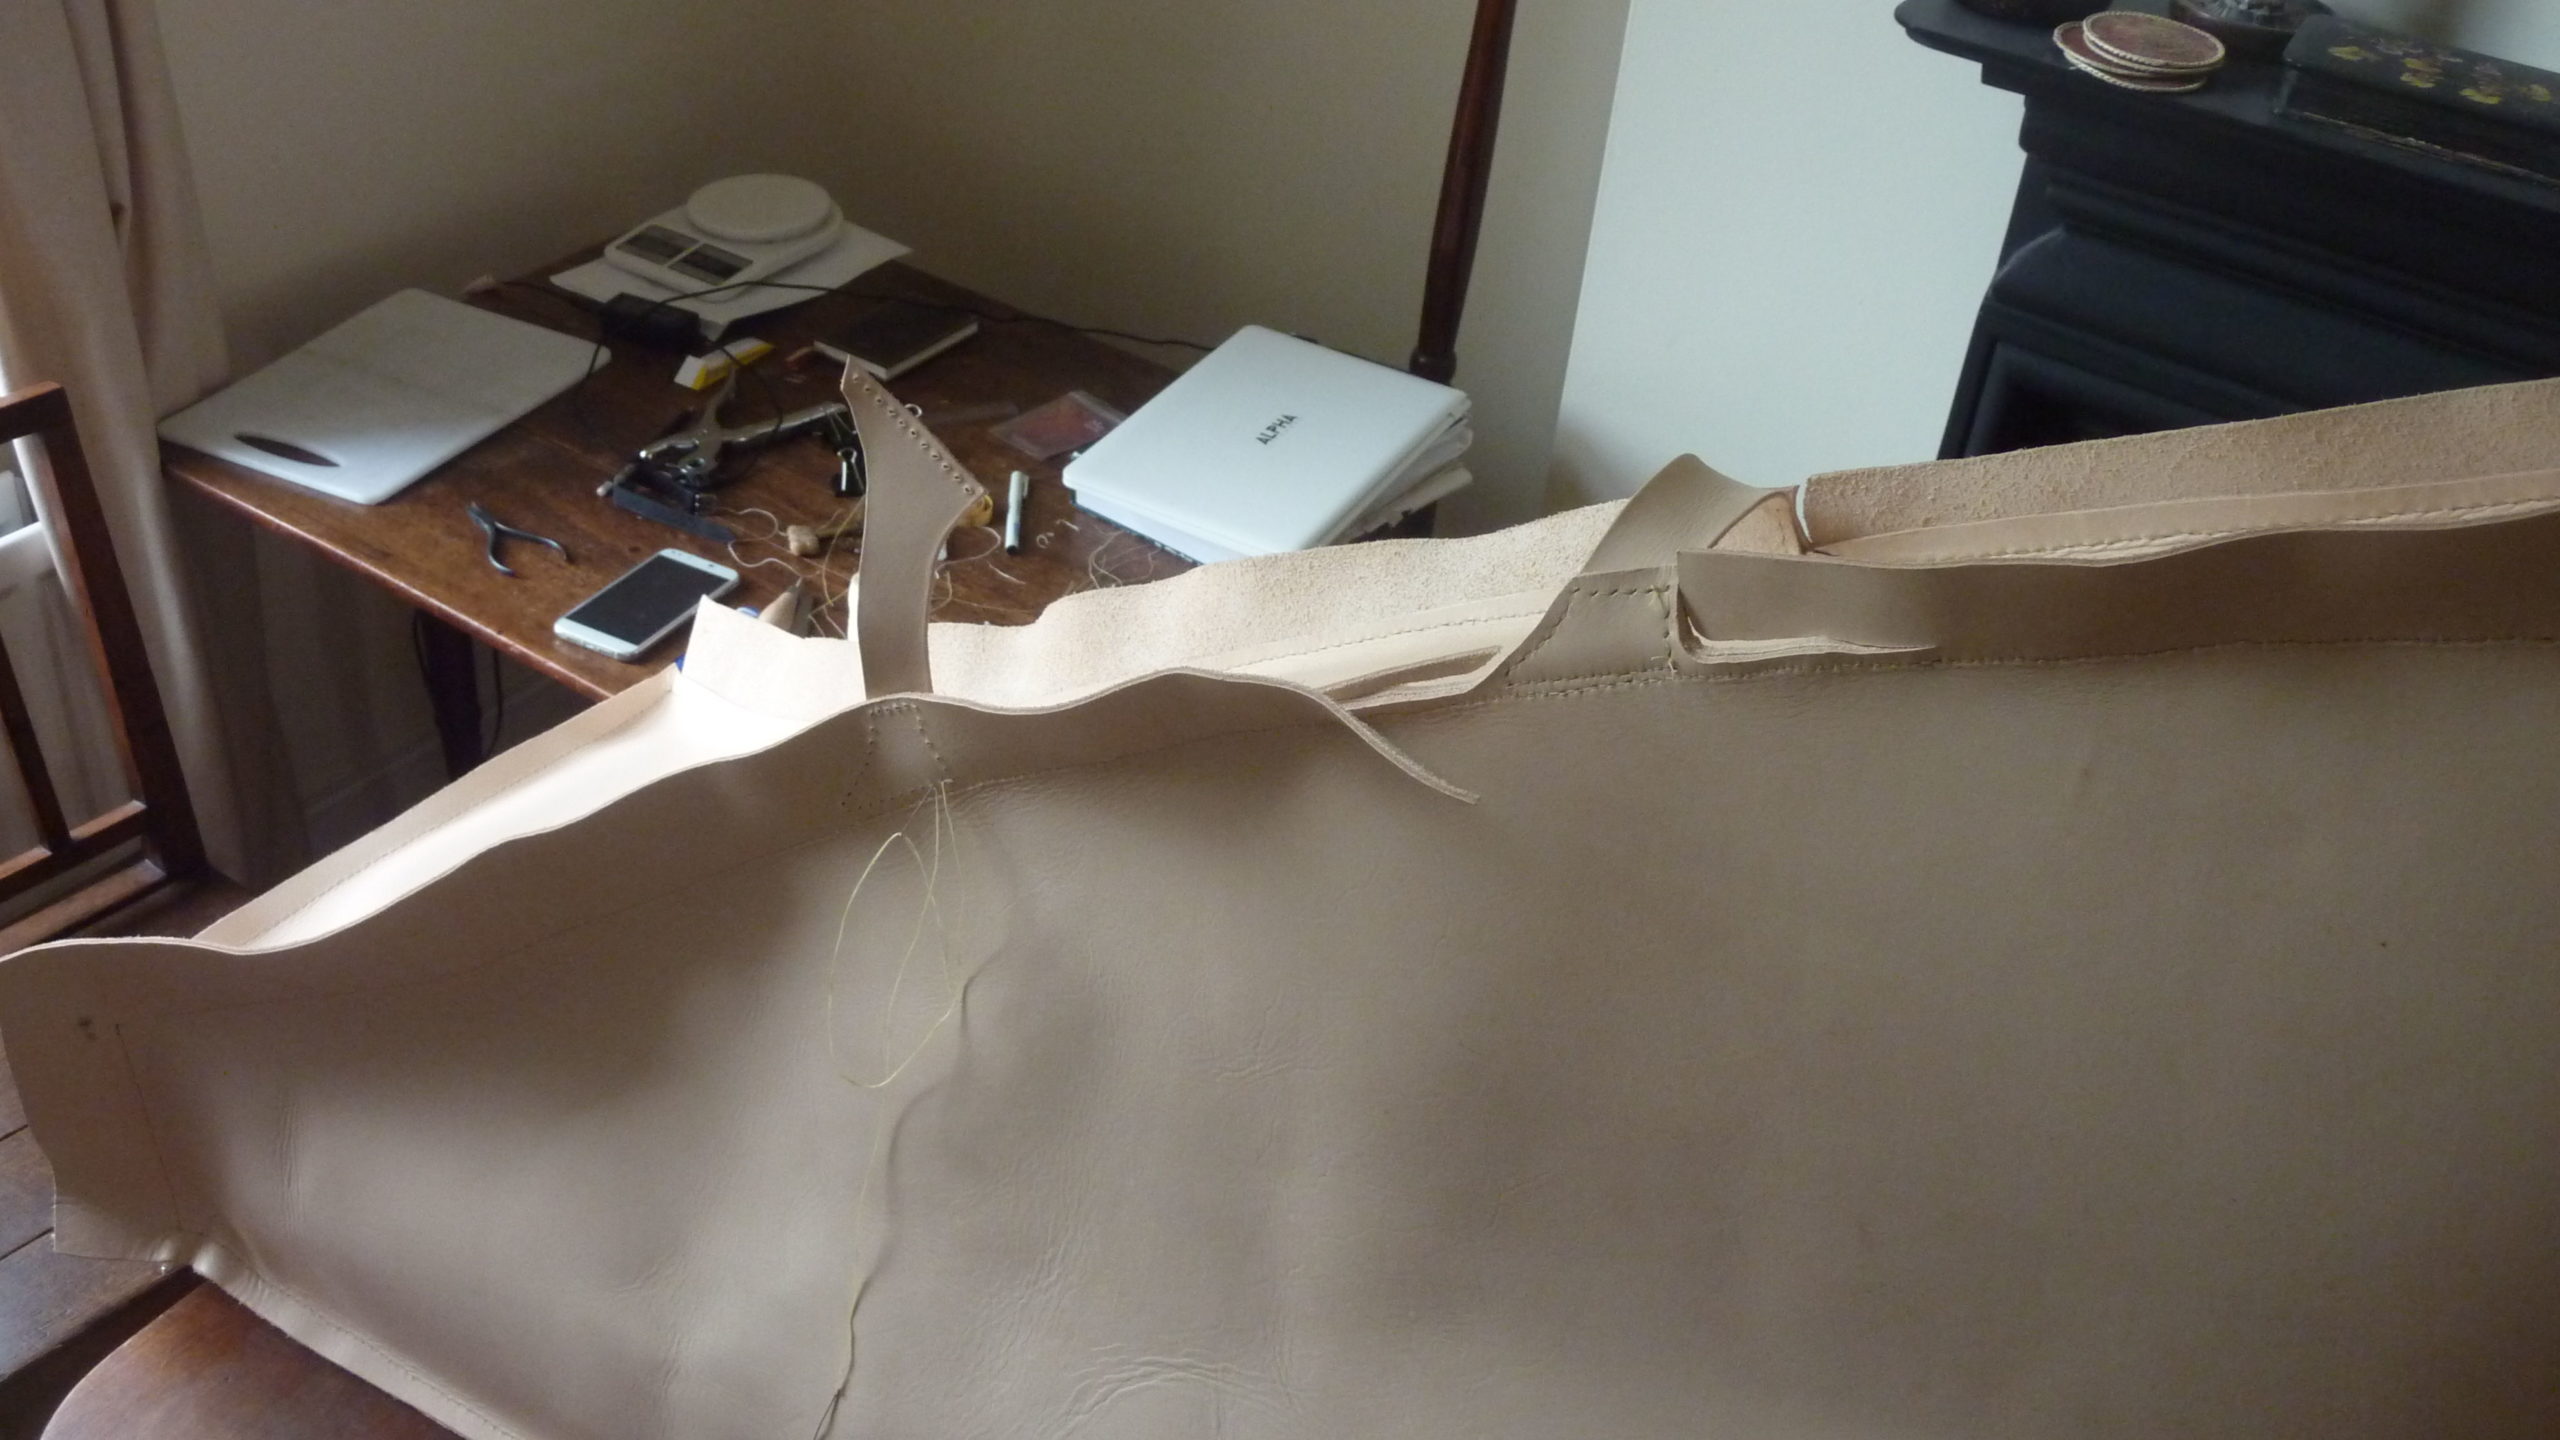
As with the lining, I kept stopping and fitting it all together to check for fit and measurements. Here I am cutting out the top central strip, after having sewn the two long bottom seams and the end panel:


Combining the outer and inner
When I fitted the cotton lining into the leather case, I found that it was very snug, and there was too much padding in the corners where I had basted over the extra batting at the seams. So I pulled all that extra loose batting out leaving just the seams, and then it fitted perfectly.

I knew that the tuning pins are a sharp hard area of these harps, and on the Cronkhite case that my Queen Mary harp travels in, the pins have eaten right through the reinforced area next to them. So I decided to add leather strips on the inside of the case, to stop the pin ends touching the soft and fragile cotton quilting. I sewed through the leather outer, the quilting and the leather strips, to secure the mouth edge of the case.


Closure
At this stage I still had not fully designed the closure over the neck. You can see in this photo above that I have attached a flap of leather on the left side of the opening. This will become part of the closure flap. I made another quilted strip for the lining of the closure flap:

There are three pieces of leather for the flap; the stub attached to the left side of the case; the long end strip; and a flap that pulls down onto the right side, sewn together with a long curving seam:

This is how the flap will attach to the case:


That completes the body of the case; all that is left is to make fastenings for the flap, and handles to carry it by.
Straps and handles
I read an article on the early medieval budgets or book satchels (John W. Waterer, ‘Irish Book-Satchels or Budgets’, Medieval Archaeology Volume 12 no.1, 1968). These use a forked lace through pairs of holes to fasten the flap. I made three of these fastenings.

For the carrying handles, I had already decided that I wanted more than just the one suitcase-style handle that these cases usually have. I made three handles running across between the top seams, sewing them onto the excess side leather, and then afterwards cutting away the rest of the side.
For a shoulder strap, I wanted the weight of the harp to be carried as low as possible by the back panel of the case. I had left a flap attached to the back over the neck of the harp, and I attached the strap to the seam excess at the base of the harp. I used another technique from the medieval book satchels to join the two straps with a thong, allowing the length to be adjusted.


Proofing
Finally, I rubbed dubbin into all the exposed leather surfaces. The leather absorbed a lot. I think I will continue applying small amounts regularly to build up a depth of softness and waterproofing. The dubbin also has already darkened the leather slightly.

The finished case
Here it is finished. It will need a lot more applications of dubbin, and should darken a lot over time.

Weight and practicality
The replica NMI Carolan harp made for me by Pedro Ferreira (Atelier Rumor) is a big and heavy harp, and so I expected the case to end up big and heavy as well.
The finished case is very comfortable. The triple handles make it exceptionally easy to shift around – you can use one hand on the middle handle, like a suitcase, or you can use both hands on the two outer handles to shift it very easily and accurately.
The whole thing is a bit big and heavy for the shoulder strap – or perhaps I haven’t adjusted it right yet. I have punched multiple sets of holes to try a longer and a shorter setup.
The outside seams make the case very stable and sturdy, and I think offer extra protection from knocks and bumps.
Now all I need is for the pandemic to subside so that I can take it out and about to events!
What a handsome bag!
I like many of the choices you’ve made. The versatility of carrying options is something I’m interested in. Will you post photos of what it looks like when carried? I’ve experimented with ways to hang a harp case over the shoulders, but the best I’ve found is to add a strap horisontally across the chest and shoulders, or it digs in too much.
Your case looks very nice, functional and practical. Thank you for posting so much information on sources, techniques and so on! It makes me wonder if layering linen or wool in a way similar to a gambeson could work as mid-layer padding.
Thank you, Amanda. Yes, I plan a follow-up post with a photo of the case in use, as well as dimensions and weights etc.
I did consider wool padding, but I worried it would become too heavy. I also considered not using padding at all, just having it as a fitted leather bag, or with just a plain fabric lining. That would be lighter and slimmer but would offer less protection.
The case in use
The case weighs 8.08kg. Of that, 2.45kg is the cotton lining and 5.63kg is the leather. I think I could have used leather half the thickness, and padding half the thickness, to make the case a bit over half the weight, and still have enough protection for ordinary use.
A similar-sized modern harp case weighs 4.4kg but is a lot more soft and flexible, with less protection.
Hi I saw this article on Facebook . May I know how much do you charge to make a bag for a harpsicle ?
I am afraid I am not making harp bags commercially. To cover my time the cost would be three or four times what professional harp case makers would charge. My blog post is really more to help give people ideas who want to make their own bag.
If you are in Britain or Ireland I would recommend Salopian Strings.
If you are in the US I would recommend Torpedo Bags.
Actually for a harpsicle I would recommend you go to the original maker. They sell a specially made bag for US$150. You will not find any custom maker to beat this price.